Here are the steps:
1. Click on the "Design" tab in main window of Visual Studio
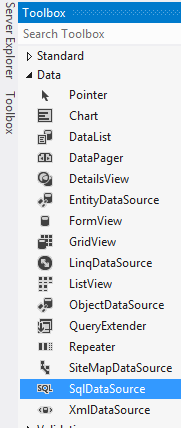
2. Click on the "Toolbox" tab, then expand the "Data" node, then drag the "GridView" data control to the Design surface. The Design Surface is the big window in the middle of Visual Studio.
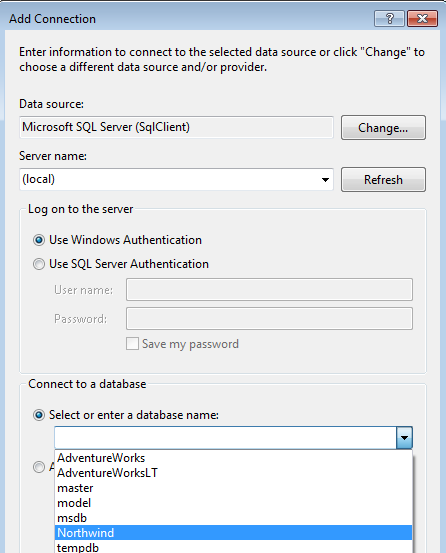
5. Click on the "New Connection" button
7. Click "OK"
8. A new connection has been defined in your web application
9. Click "Next", leave the checkbox check for the option "Yes, save this connection as:", "NorthwindConnectionString"
10. Click "Next"
11. On the "Configure the Select Statement" window select "Specify a custom SQL statement or stored procedure"
12. Click "Next"
13. Click on the "Query Builder" button"
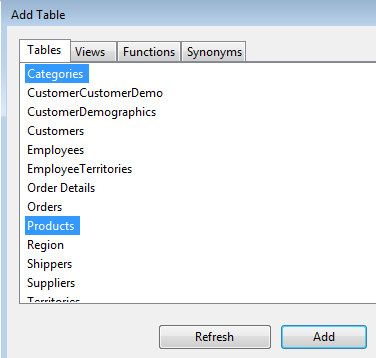
14. On the "Add Table" window select the "Categories" and "Products" table and then click "Add", then click "Close"
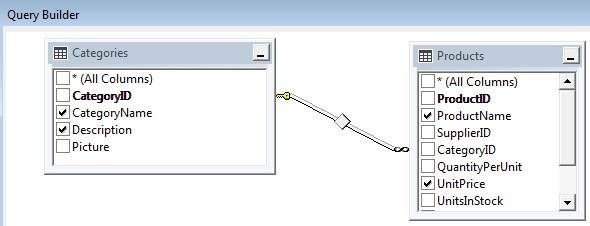
15. In "Query Builder" the two tables and their relationships are displayed
SELECT Products.ProductName, Products.UnitPrice, Categories.CategoryName, Categories.Description
FROM Categories INNER JOINProducts ON Categories.CategoryID = Products.CategoryID
17. Click "OK"
18. Click "Next"
19. Click "Finish"
20. Click on the ">" button next to the GridView1 control, and for the "Choose Data Source" dropdown list chose "SqlDataSource1"
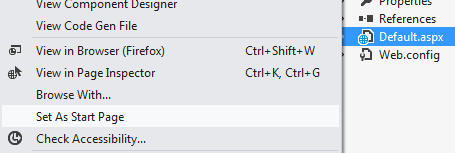
21. Right-click on the "Default.aspx" file then select "Set as Start Page"
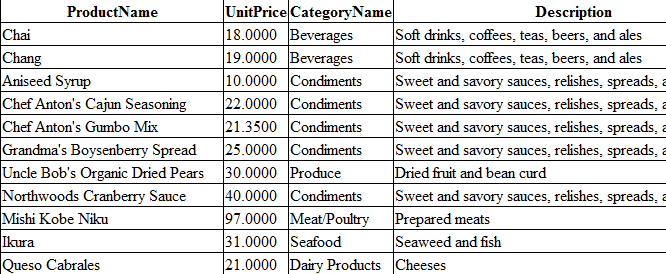
22. Press F5 to run the page, the GridView will be displayed on the browser page.
Source Code: GridViewWebSite.zip to download the zip file click on File -> Download







No comments:
Post a Comment